Installing Lazer Lamps auxiliary lights on professional vehicles requires careful planning and the use of proper tools. A successful installation starts with selecting the installation location, continues with safe electrical connections, and ends with testing the system. Professional drivers can perform the installation themselves or rely on professional help in more complex cases.
Why Lazer Lamps Auxiliary Lights Are a Favorite Among Professional Drivers
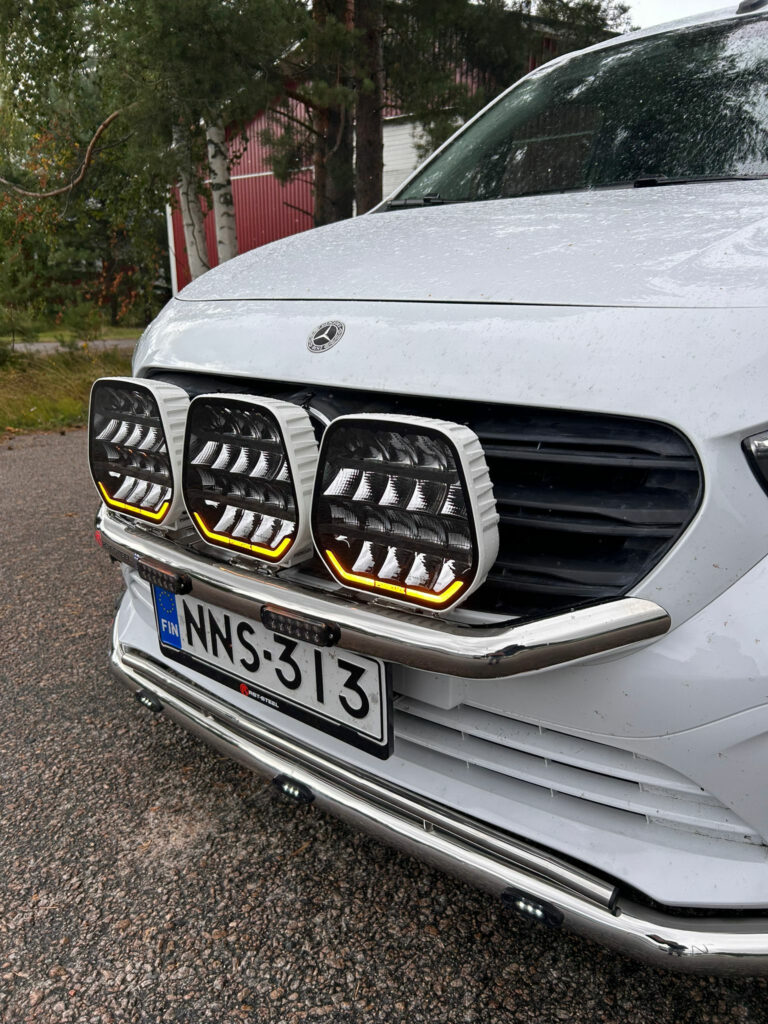
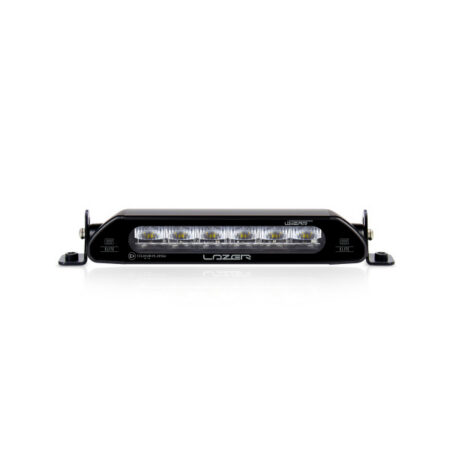
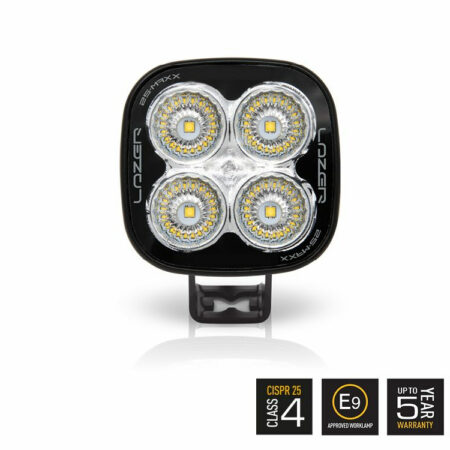
Lazer Lamps auxiliary lights are specifically designed for demanding professional use and northern conditions. The IP67 protection rating of these premium auxiliary lights ensures complete durability in all weather conditions, which is essential for professional drivers.
The aluminum construction withstands heavy use in trucks and vans. The products provide exceptionally bright and even light distribution, improving safety during nighttime driving and in challenging working conditions.
The industry-leading 5-year warranty demonstrates the manufacturer’s confidence in the quality of their products. This long warranty period is especially important for professional use, where lights are exposed to continuous stress and varying conditions.
What Tools and Equipment Are Needed for Installing Lazer Lamps Auxiliary Lights?
A successful installation requires using the correct tools and components. Basic tools include a screwdriver, wrenches, a drill, and a hole saw for creating mounting holes.
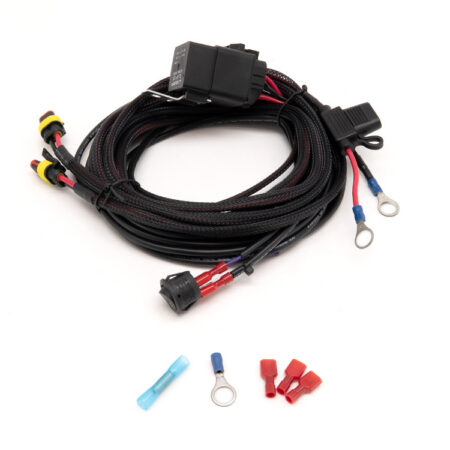
The product package usually includes basic mounting hardware, but electrical components such as relays and wiring must be purchased separately. Ensure that all components are compatible with your vehicle’s electrical system.
How to Choose the Right Mounting Location for Auxiliary Lights on Professional Vehicles
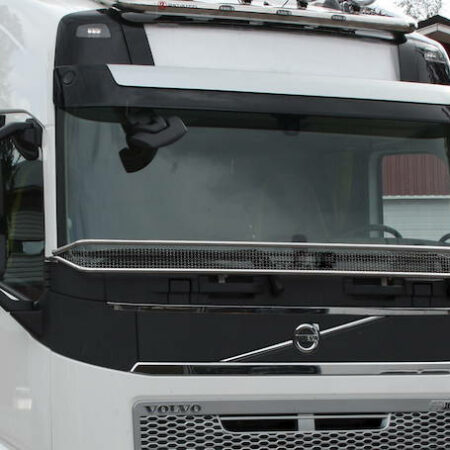
The mounting location determines the effectiveness and legality of the auxiliary lights. On trucks and vans, the best mounting locations are the top of the front bumper, roof rails, or the front of the vehicle below 1.5 meters in height.
Traffic regulations restrict auxiliary light placement. The lights must not dazzle oncoming drivers, and their use is permitted only when necessary. Light beam orientation is critical for safety.
Practical considerations include easy maintenance, impact protection, and adequate ventilation. Ensure that the mounting location does not obstruct other vehicle components or create aerodynamic problems at high speeds.
How to Perform Electrical Connections Safely on Professional Vehicles
Safe electrical installation begins with disconnecting the battery’s negative terminal. Always use a relay system to control auxiliary lights, as it protects switches and wiring from high currents.
Select the appropriate fuse size to protect the system. Use wires thick enough for the current—typically 2.5–4 mm² depending on the lights’ power. Ensure all connections are secure and use high-quality connectors.
Grounding is especially important on professional vehicles. Attach the ground wire to a clean metal surface and use a star grounding method when installing multiple lights. Test the system thoroughly before final installation.
When to Use RST-Steel’ Professional Installation Service
Professional installation is recommended for complex electrical systems or if you want to ensure warranty validity. In particular, DIY installation on new vehicles may affect the vehicle’s warranty.
We offer installation services at our stores in Nivala, Pirkkala, and Kempele. Professional installation ensures proper wiring and optimal performance. You also receive expert advice on selecting the right lighting solutions.
For complex work machines and specialized vehicles, professional installation is often necessary. We also provide after-sales service and maintenance, ensuring long-term functionality of auxiliary lights in demanding professional environments.
Explore our range and contact us to find the auxiliary lights that perfectly suit your needs.